With that upgrade came new features such as a scientific calculator, programmer functions, and more. One of those is a graphing calculator that can give standard graphing calculators on the market, like Texas Instruments, a run for their money. In this article, we’ll cover how to access the graphic calculator in Windows 11, how to enter and graph out functions, and how to use the calculator to solve for values along the graph.
How to Open the Graphing Calculator in Windows 11
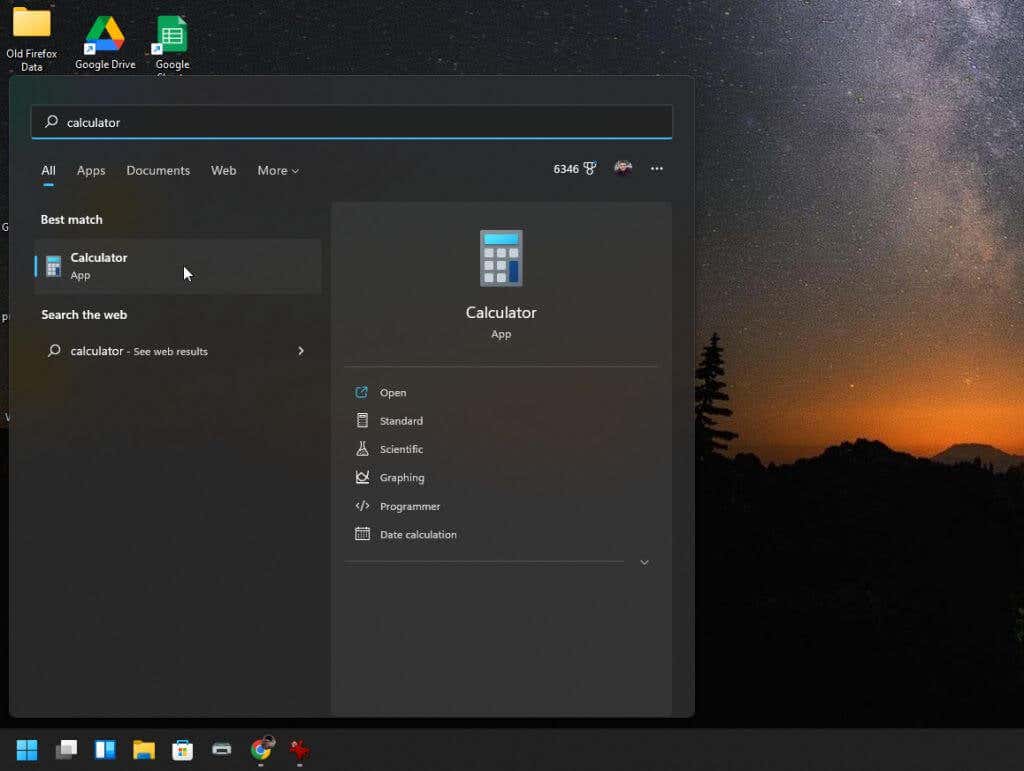
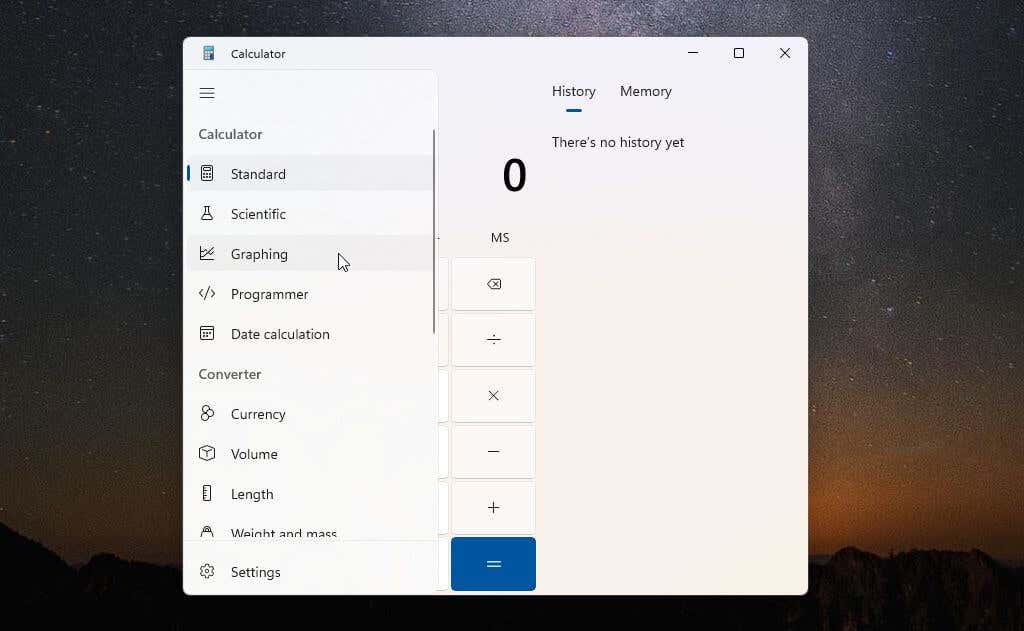
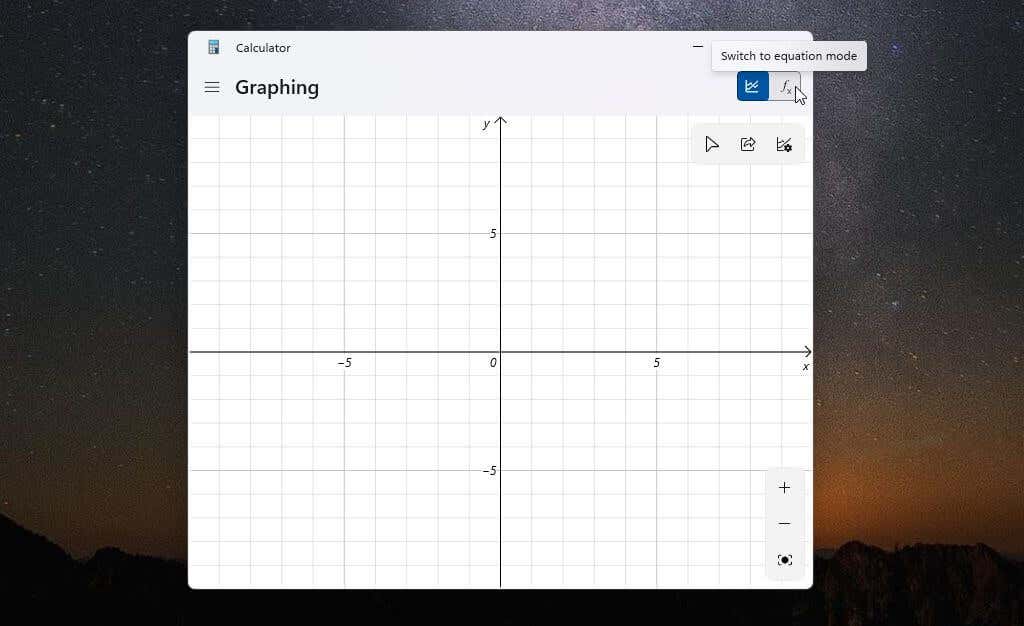
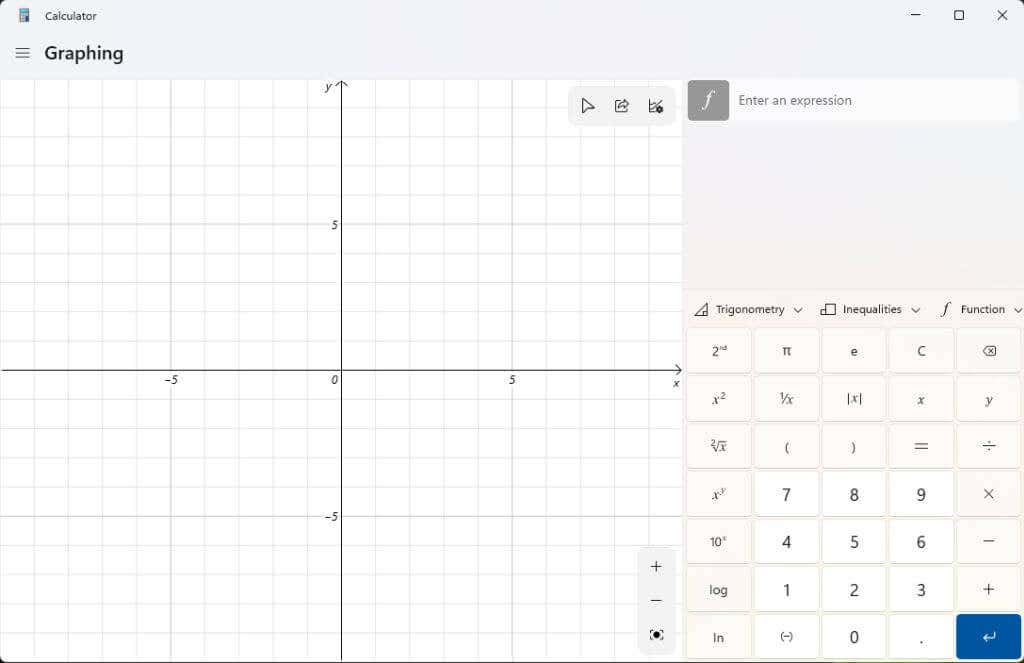
To open the graphing calculator, click the Start menu and type “calculator” in the search field. Then, select the Calculator app. This will open the standard calculator app. And unless you think to select the menu at the upper left, you’d never know that this isn’t just the same old Windows 10 calculator app. When you select the menu, you’ll see all the options available for advanced calculator features. To access the graphing calculator, select Graphing from the menu. The graphing calculator will open in the same small window. So, you’ll only see the graph unless you switch the display from calculator graphing mode to equation mode using the small toggle button at the upper right. A better way to use the graphing calculator is to resize the window until both the graphing area and the equation editor appear side by side in the same window. Now you’re ready to use this powerful Windows 11 graphing calculator.
How to Use the Graphing Calculator in Windows 11
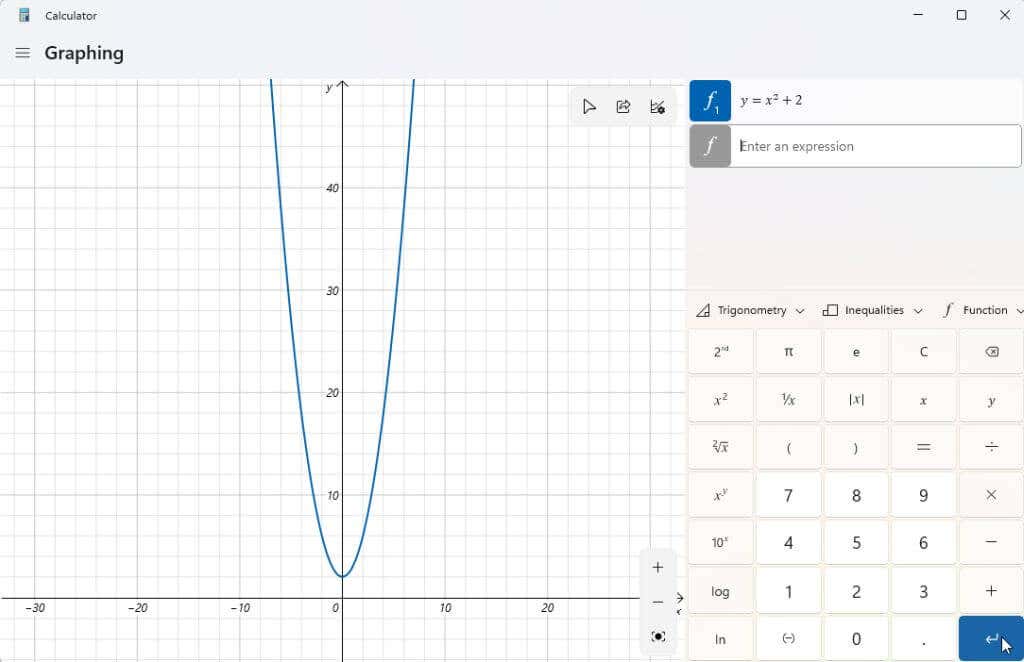
To demonstrate how the graphing calculator works, we’ll start with a simple quadratic equation: y = x² + 2.
Type this formula into the Enter an expression field, and select the blue Enter button. You will see the graph appear in the left pane over the x- and y-axis.
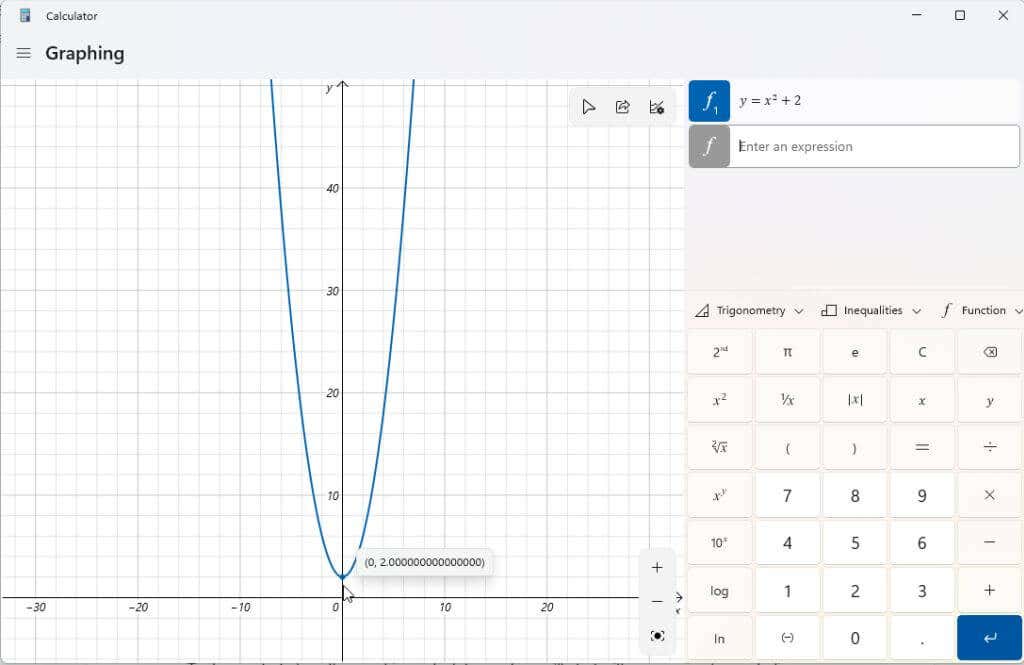
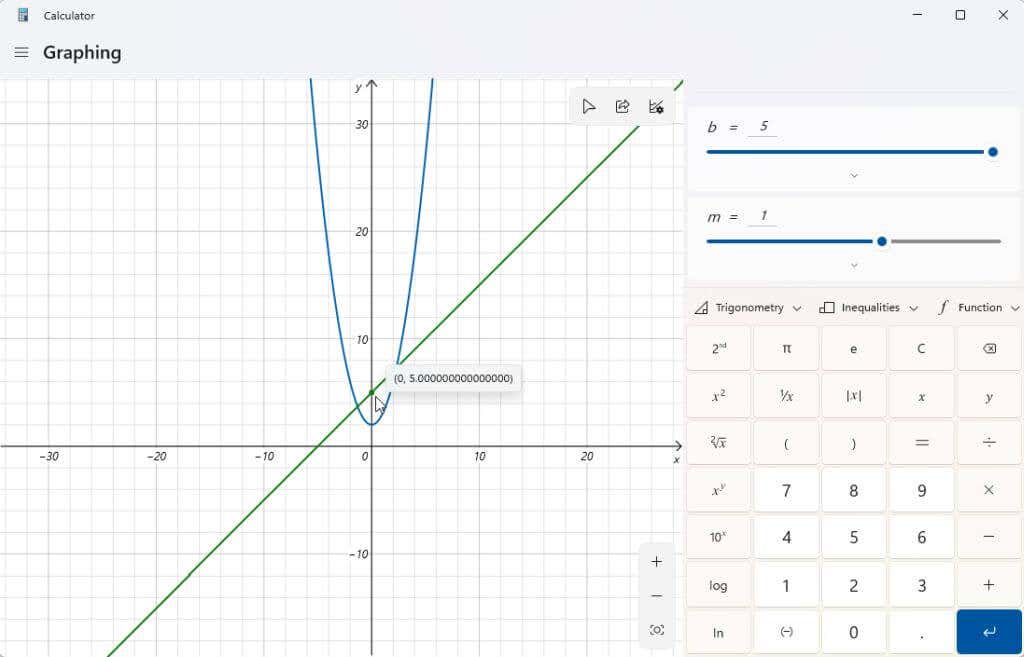
Now, the whole point of a graphing calculator is so that you can solve for values of y when given different values for x. Then, you can trace the graph with your cursor to see these values, such as the y-intercept (when x = 0).
You can also use the graphing calculator to manipulate variables in your expressions and see how those changes affect the graph. These are important when students are learning algebra and how different elements of a function affect the output results.
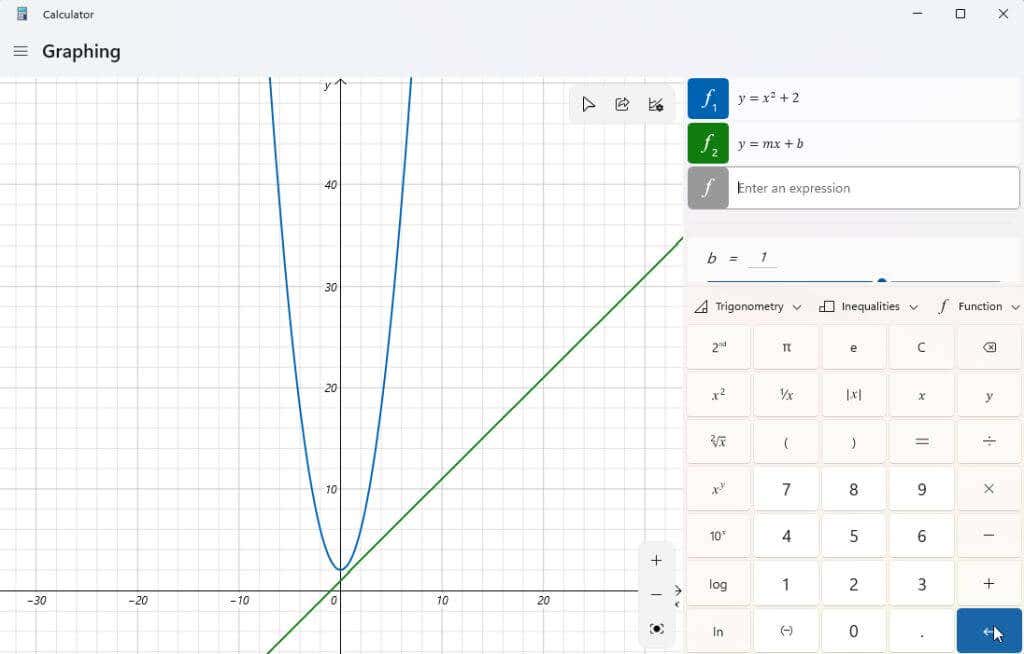
A good example is the linear function y = mx + b. This is one of the first functions students learn to understand how the slope and position of a line in a chart are related to each variable.
Type that function as another expression and press the blue Enter button to chart it.
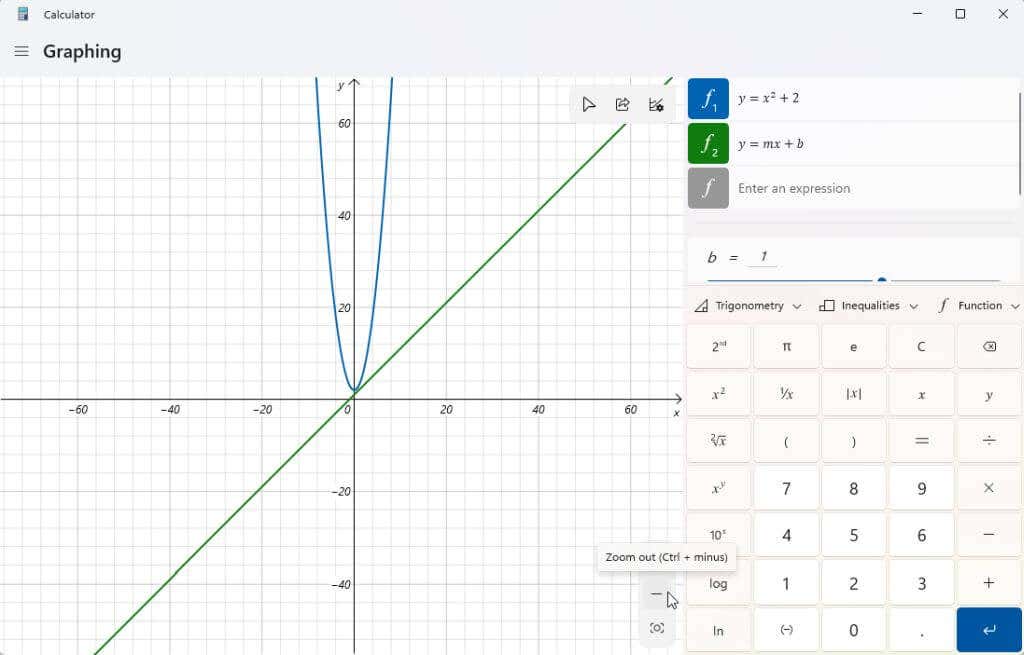
You may notice that your graph isn’t centered in the display, or you can’t see it well. You can use the + and – buttons at the lower right corner of the chart to zoom in and out. You can also left-click and drag the mouse anywhere in the graph area to slide the display in any direction.
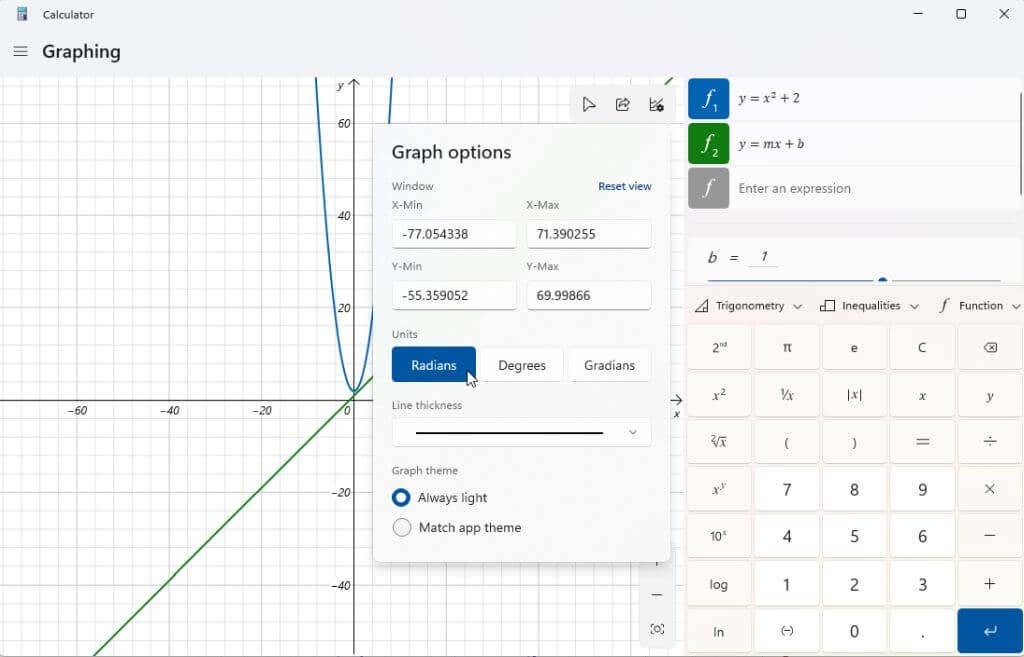
If you select the Graph options icon at the upper right corner of the chart, you’ll also have the option to adjust the min and max values for x and y. This is another way to adjust the display area of the chart.
You can also adjust units between Radians, Degrees, and Gradians.
Once your graph is centered, try manipulating variables to see how it affects the output. The linear function above has two variables, m, and b. If you scroll down using the scroll bar to the right of your expressions, you’ll see a section showing these expression variables. The graphing calculator has made assumptions about what value these variables are to chart it.
Try adjusting the b variable in the linear function; you’ll notice that the line shifts up the y-axis by the value you’ve entered.
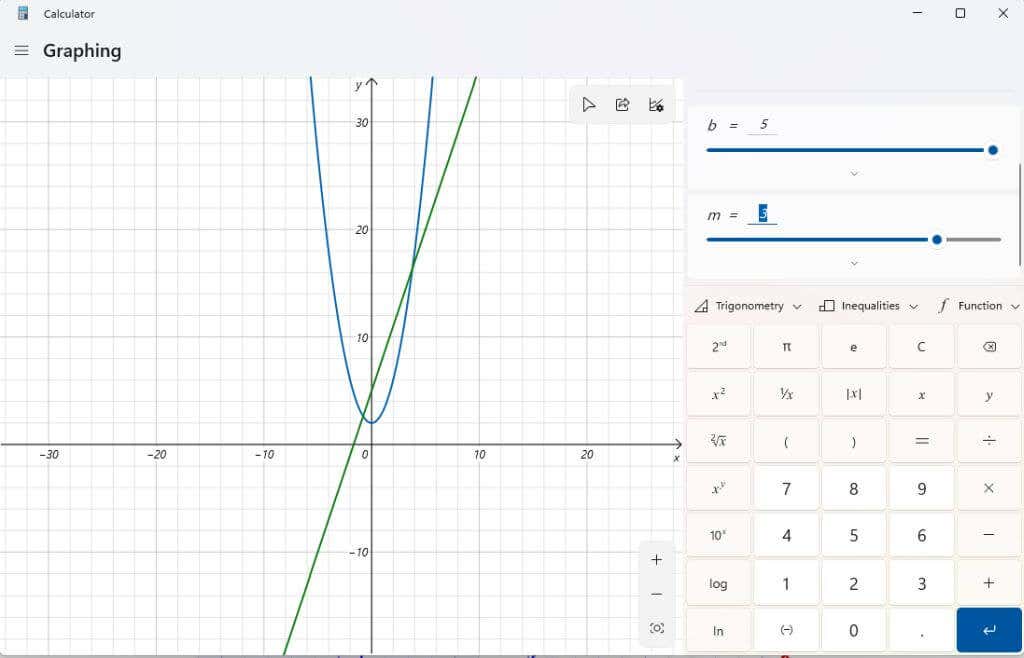
Try adjusting the m variable as well. You’ll see that when you do this with a linear equation, it will increase or decrease the slope of the line.
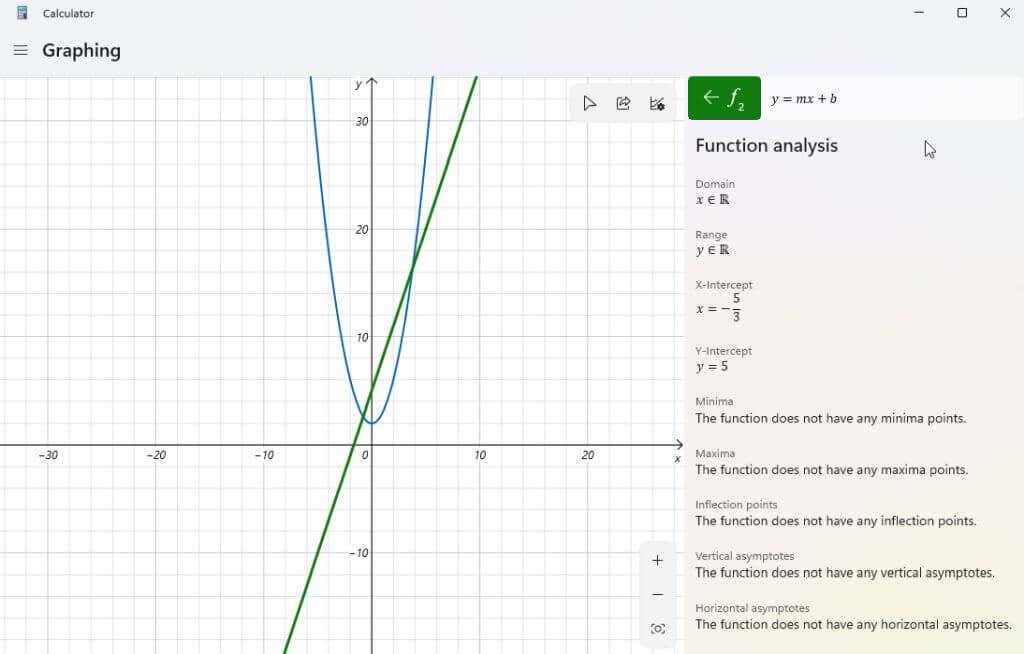
You can see more details about each expression you’ve entered by selecting the Analyze function icon to the right of the expression.
When you select this, the graphing calculator will analyze your expression and provide important information like the x-intercept, the y-intercept, and more.
Other Windows 11 Graphing Calculator Features
To remove any expressions you’ve entered into the calculator, just select the Remove equation icon to the right of your equation.
This will remove the equation and the graph from the graphing calculator display.
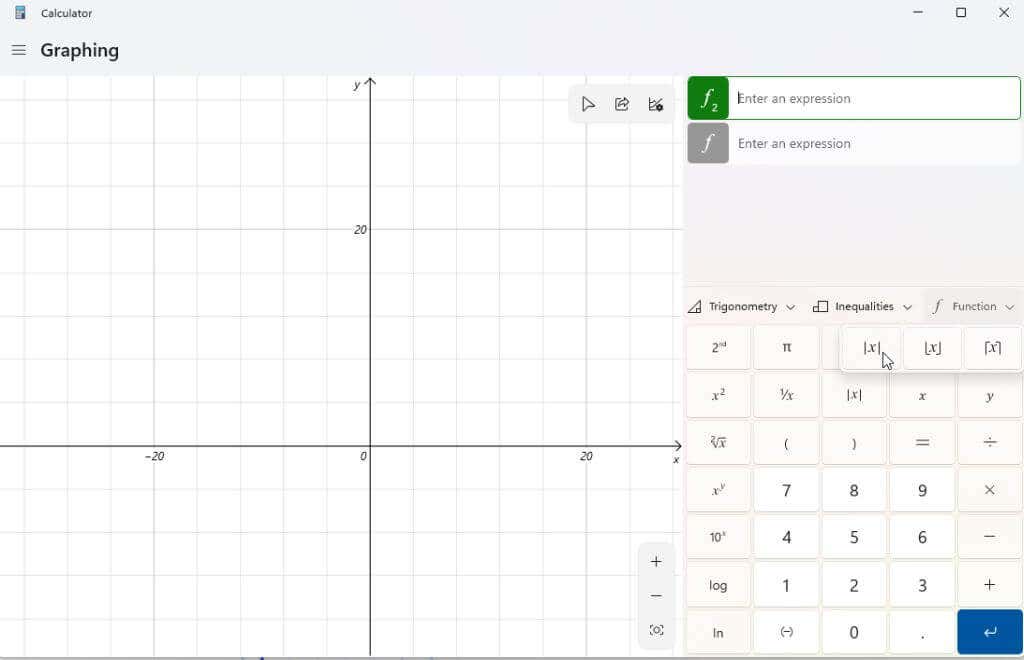
Use the Function dropdown to incorporate things like absolute value.
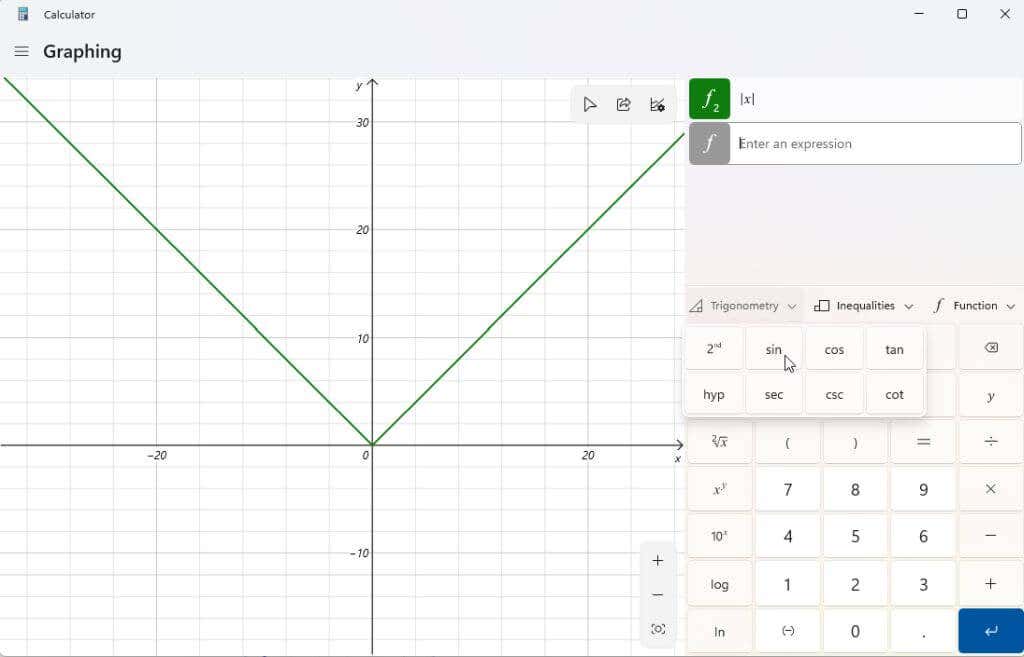
Use the Trigonometry dropdown to include sin, cosine, tangent, and other trigonometric functions in your expression.
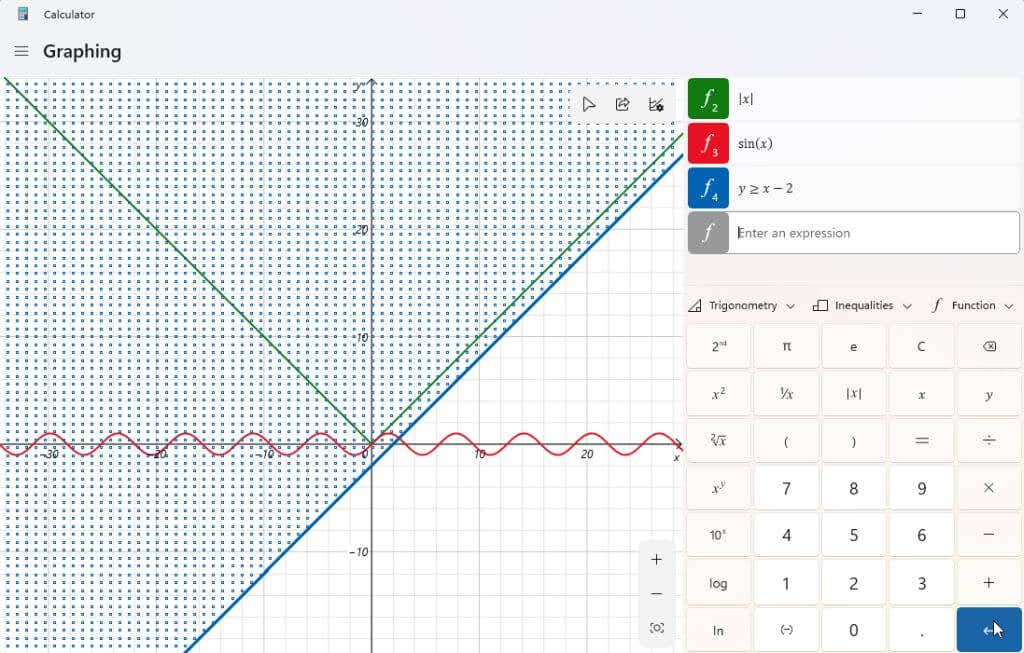
You can use the Inequalities dropdown to chart expressions that include inequality instead of an equal sign. This will be represented on your graph as shading below or above the area of your chart where that inequality is true.
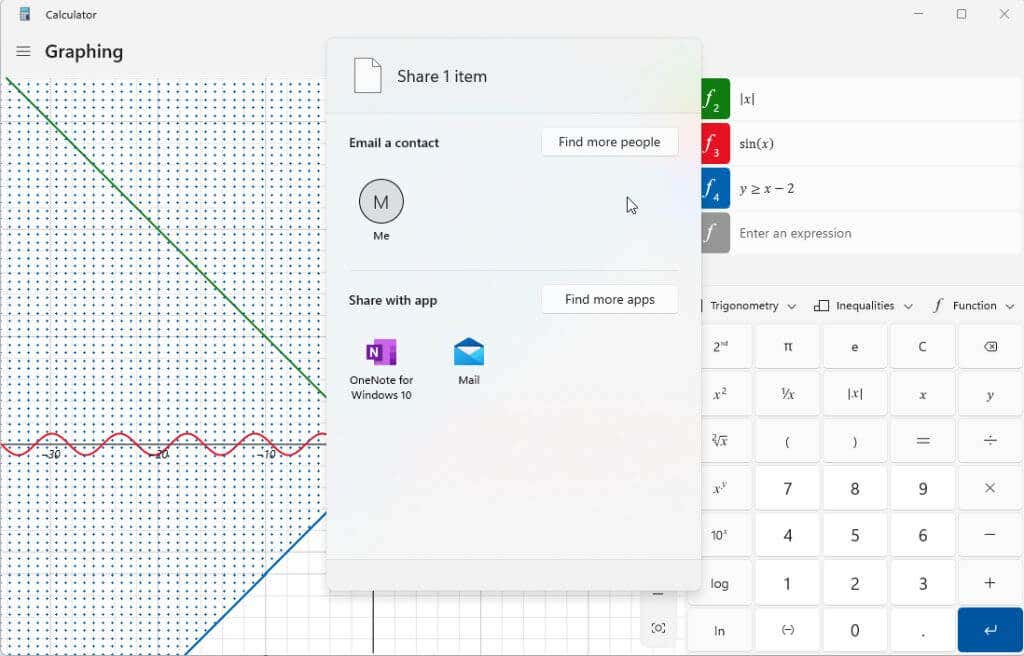
Once you’ve created your graph (or graphs), you can select the share icon in the graphing area’s upper right corner to send a screenshot of that chart to other people.
The options listed here will depend on what’s installed on your Windows system. The typical option will include email. But if you have other apps like OneNote, Facebook, or other communication apps, you’ll also see those listed here.
Have you discovered the graphing calculator in Windows 11 yet? Have you found it helpful with homework assignments or at work? Share your tips for using the graphing calculator in the comments section below!

